What is a decision tree?
A decision tree, like the name suggests, is a tree-shaped graphical representation of different facts and scenarios. The tree diagram is supposed to represent various scenarios and choices. Each of its branches shows different possibilities and outcomes. In comparison to a textual representation, a decision tree can provide more accurate details and make decision-making easier.
It’s easy to understand why many businesses and other organizations would use this graphical chart for decision making. 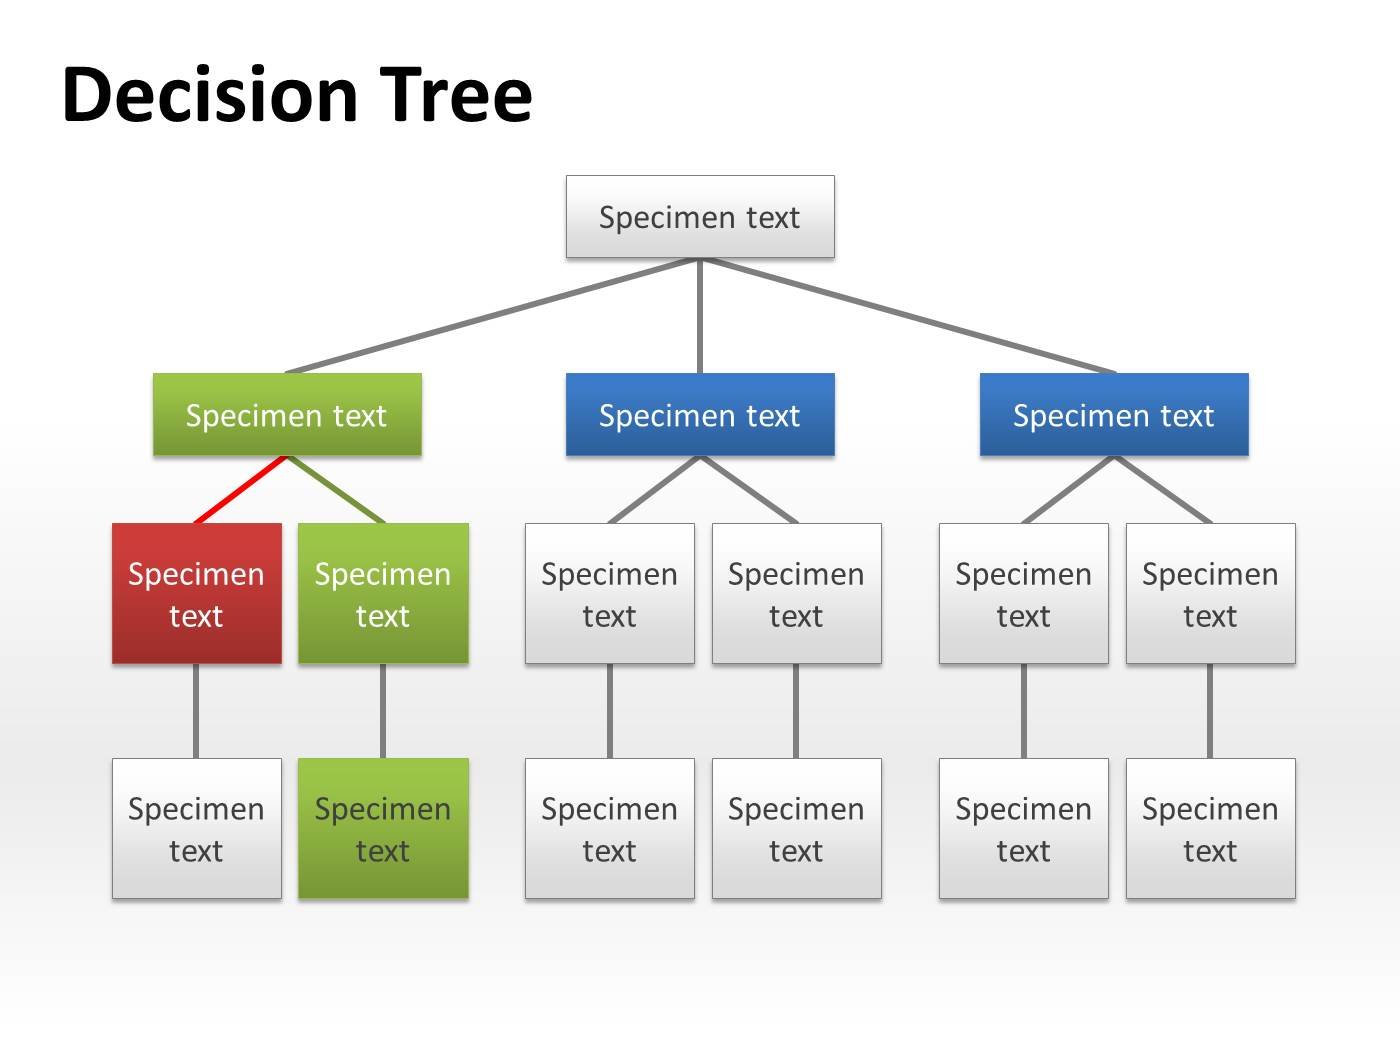 Tree diagrams can help users formulate plans by taking into account all the outcomes of given problem. The diagrams themselves provide a graphical representation of a person’s thought process and can help people further understand why a particular decision has been made.
It’s a convenient way for people to see how various actions may lead to different results in pursuing a certain outcome. If you think a decision tree will help you in your own business or work-group, then continue reading. This article aims to teach you how to make a decision tree in Microsoft Word.
Creating a decision tree in MS Word
In this guide, you’ll learn how to create a diagram to help decision making in Word 2010 and later versions. Businesses generally consider versions prior to the 2010 edition of Word outdated now. If you happen to be using an older version of the software, the tips should be transferable with a few little tweaks here and there.
Making a flowchart of any sort is easy in MS Word and can be done in these few simple steps:
- Step 1: Open a new document in MS Word.
- Step 2: Click on the ‘Insert’ tab and then on the ‘SmartArt’ option.

- Step 3: You will see a variety of graphic selections; scroll halfway down the ‘Relationship’ category and locate ‘Radial’ list.
- Step 4: Once you have chosen the ‘Radial’ list, click ‘OK’. The graphics should then appear in your main Word work-space.
- Step 5: Click on the different bubbles to enter text inside them according to your needs.
- Step 6: Press Enter once you’ve reached the last text bubble to create a new one; continue until you have completed all the required stages.
- Step 7: Save the document or get it printed to be used in a professional situation.
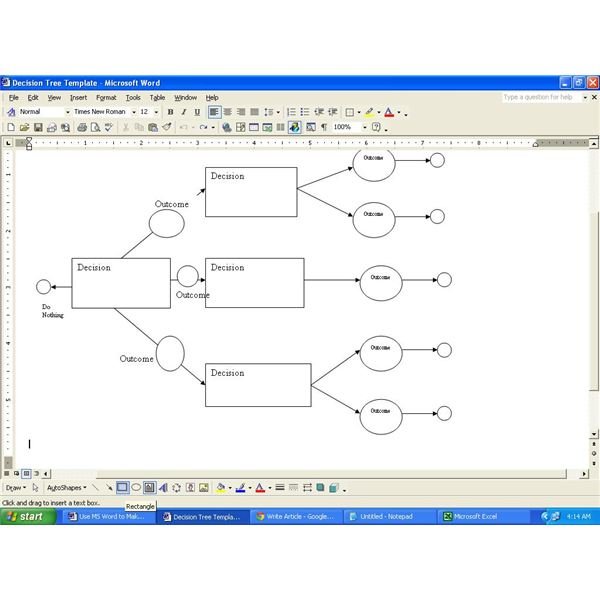
In seven easy steps, you can create a basic decision tree from scratch in a short amount of time. However, downloading a template is also a viable option for those who do not wish to spend time learning about the process and creating their own.
How to create shapes?
Click the icon of your chosen shape and then on the main screen where you want to place your shape. Drag the cursor in an outward motion to create the first shape on your document. Remember to make the first shape bigger because it will serve as a heading.
To create lines as seen in flowcharts, click on the line tool and select between a straight line or a line with an arrow. Drag two lines starting from the bottom of the first shape and extend them to the new shapes you plan to make. Create the new shapes and click on the ‘Text Box’ option to make space for including text.
Drag the boxes to the newly made shapes to provide space for your text. You can always adjust the number of boxes and shapes depending on your needs. Repeat this procedure and keep going down the page till you reach the final decision.
Some useful tips
Before beginning to chart out a decision tree in Word, it helps to plan the layout on paper first. By making a rough sketch or a list, you’ll have greater freedom on how to proceed in MS Word.  Just the general idea of the number of boxes to create and how much space needed to make the diagram can be a great starting point.
To see the list of available drawing tools, head over to the ‘Illustrations’ option, located on the ‘Insert’ tab. Click on the button saying ‘Shapes’ to view a list of possible shapes you can use. Choose whatever shape you want based on your needs – squares and circles tend to work the best.
Now you know how to create the perfect decision tree using MS Word 2010 and later editions. Use this new skill to help your colleagues with systematic solutions or impress the boss by aiding in crucial decision making. No matter what your intention is, you’ll certainly get stellar results using our handy tips.
Resources:
http://www.ehow.com/how_5928556_draw-decision-tree-using-word.html
http://www.mywordtemplates.org/diagram/template1489.html
https://www.techwalla.com/articles/how-to-create-a-decision-tree-in-word